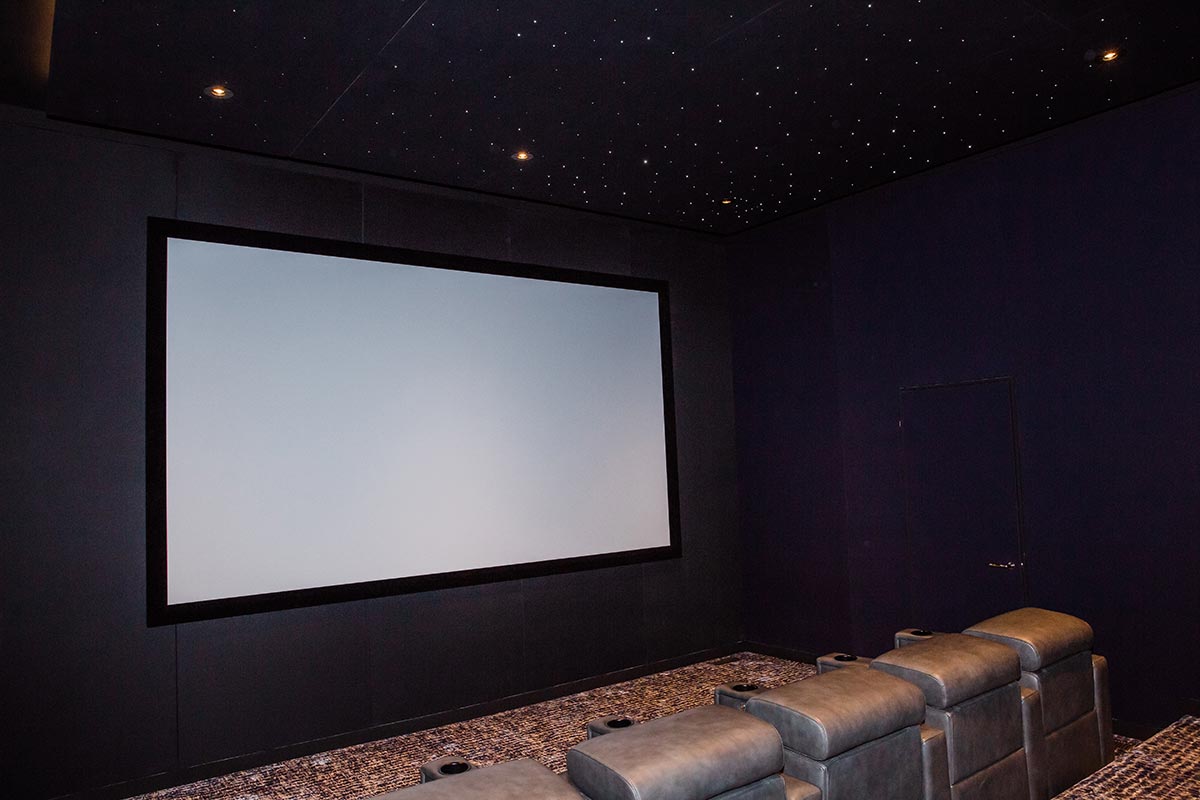
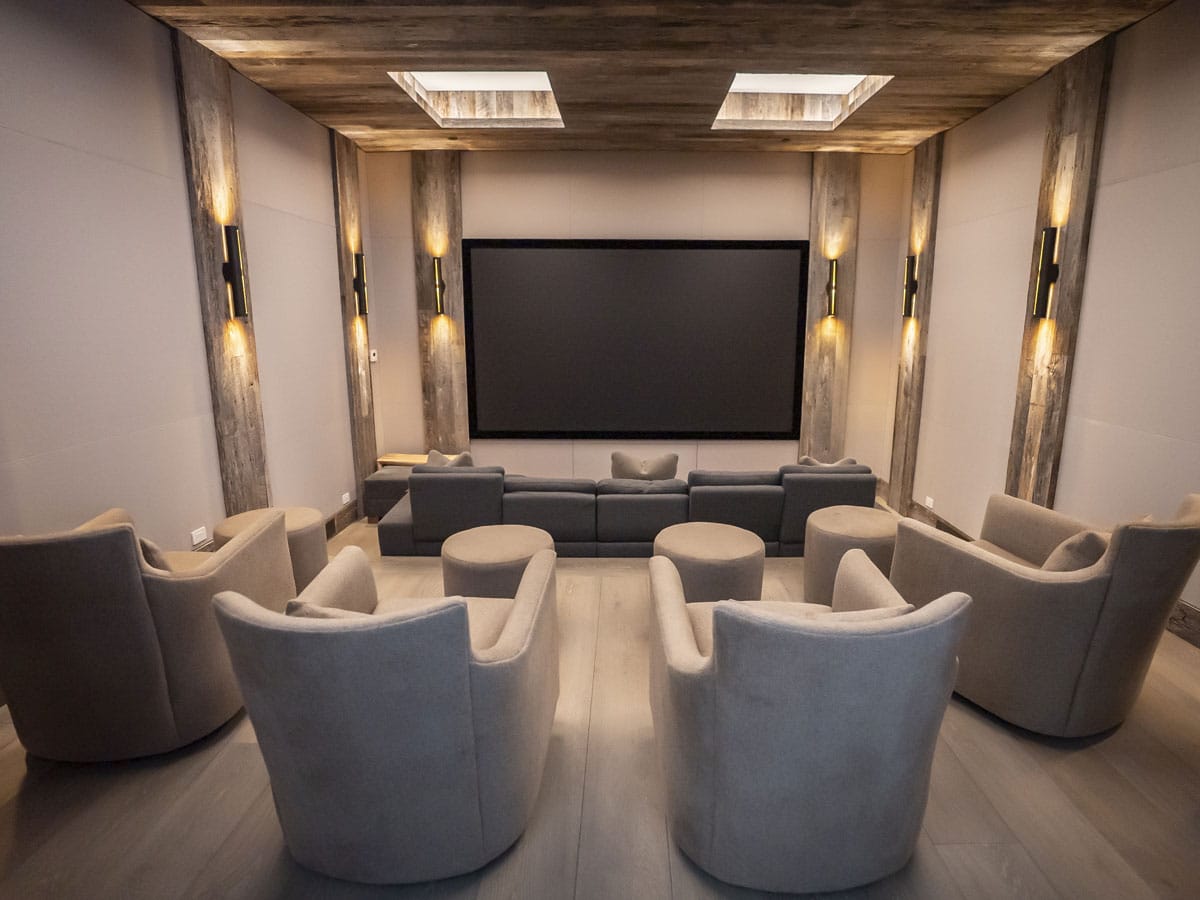
You’ve dreamed about it for years: a dedicated home theater where you can finally watch movies the way they were meant to be experienced—clear dialogue, impactful bass, and a picture that holds up in real-world lighting.
The key detail most people miss is that great results come from design, not just gear. A successful room balances acoustics, sightlines, lighting control, networking, and clean power—then selects the right equipment to match. After working with homeowners across San Mateo and Santa Clara Counties, we see the same issues repeat because they’re easy to overlook during a remodel or “quick upgrade.”
The good news: these mistakes are completely fixable. With the right plan (or the right home theater design service), they’re also easy to avoid—especially if you’re comparing av companies near me or audio video companies near me and want a system that’s reliable, simple, and tuned to your space.
Mistake #1: Treating Your Room Like an Afterthought
This is the most common (and most expensive) misstep: investing in premium speakers and a great display, then placing them in a room with hardwood floors, reflective drywall, glass, and little soft furnishing.
The result? Dialogue intelligibility drops, the soundstage collapses, and bass becomes uneven—boomy in some seats and thin in others.
Here’s the technical “why” in plain English:
- First reflections from side walls, the floor, and the ceiling arrive milliseconds after the direct sound. Those reflections smear detail, making voices less clear and reducing imaging precision.
- Reverberation time (RT60) in a “hard” room is often too long for cinema playback. You hear more room than soundtrack.
- Standing waves (room modes) create peaks and nulls in low frequencies. That’s why one seat has huge bass and the next seat has almost none.
The Fix: Treat the room before you keep upgrading equipment.
- Control reflections: rugs (or carpet), thicker drapery, and upholstered furniture help immediately.
- Add targeted acoustic treatment: panels at the main reflection points (side walls and ceiling) and, if possible, bass trapping in corners to smooth low-end response.
- Plan the room as a system: speaker locations, seating, and treatments should work together.
If you want this handled end-to-end, this is exactly what a home theater design service is for. At Levines Lights, our white glove service includes evaluating acoustics early, coordinating treatments that look intentional (not “studio-ish”), and matching equipment to the room so you get predictable performance—especially helpful if you’re searching home theater design services in the Bay Area and want it done right the first time.
Mistake #2: Playing “Speaker Roulette” with Placement
Speaker placement isn’t cosmetic—it’s geometry and acoustics. A center channel on the floor (or buried in a cabinet) is one of the fastest ways to make an expensive system sound “cheap.”
Your center channel carries the majority of on-screen dialogue. When it’s too low, blocked, or aimed poorly, you lose direct sound and rely more on reflections, which reduces clarity and makes you turn the volume up just to understand speech. Surrounds can go wrong in the opposite direction: if they’re too close and firing straight at your ears, effects become distracting rather than immersive.
The Fix: Use placement rules that prioritize clarity and coverage.
- Aim for ear-height alignment: place L/C/R so the tweeters are roughly at seated ear level, or tilt/aim the speakers so the acoustic axis points to the main listening position.
- Keep the front stage coherent: the center channel should be as close in height and distance as practical to the left/right speakers to prevent voices from sounding disconnected from the screen.
- Surrounds should envelop, not “beam”: place them to the sides/rear at an elevated height and aim them to create a spacious field across the seating area.
- Calibrate after placement: level-matching, delays (time alignment), and crossover settings matter as much as the hardware.
This is where the best audio video companies near me add real value: not just mounting speakers, but placing, aiming, and calibrating them so the system performs consistently across seats.
Mistake #3: Choosing the Wrong Room (and Regretting It Forever)
Room choice is not just about “where the TV fits.” The room’s dimensions, openings, window placement, and seating options determine your viewing angles, bass behavior, and how much light control you’ll need.
Long, narrow rooms often force seats too far off-center, which creates:
- Poor viewing angles: viewers on the sides see geometric distortion and reduced perceived contrast.
- Uneven audio: seats near walls can exaggerate bass, while other seats land in bass nulls.
- Compromised speaker locations: you end up putting surrounds in awkward spots or too close to listeners.
Rooms with multiple windows introduce:
- Glare and elevated black levels: any stray light reduces perceived contrast, especially with projection.
- Reflection paths: glass adds strong high-frequency reflections that can make sound harsh.
The Fix: Choose (or adapt) a room that supports cinema fundamentals.
- Prioritize a centered seating layout: aim for seats that face the screen head-on with reasonable side-to-side symmetry.
- Plan for light control: basements are often excellent; otherwise, use true blackout shades and manage wall/ceiling reflectivity.
- Avoid seats directly against the back wall: it’s a common cause of boomy bass and poor surround imaging—leave some breathing room if possible.
- Design around the room you actually have: with the right layout, treatments, and lighting control, “non-perfect” rooms can still deliver excellent results.
For Bay Area homeowners (especially in older homes throughout San Mateo and Santa Clara Counties), professional home theater design services prevent expensive rework. We routinely turn converted garages, bonus rooms, and guest bedrooms into spaces with proper sightlines, controlled reflections, and balanced bass.
Mistake #4: Going Too Big (or Too Small) on Your Screen
Screen sizing is about viewing angle and comfort, not bragging rights. Too small feels underwhelming; too large creates eye fatigue and constant head movement—especially with subtitles, sports tickers, or fast action.
A better way to think about it:
- Viewing angle determines immersion. Larger angles feel cinematic; extreme angles can feel overwhelming.
- Seat-to-screen geometry affects image uniformity and perceived brightness (particularly with projectors).
- Sightlines matter if you have multiple rows—one poorly planned riser can block the view for an entire row.
The Fix: Size the screen to the room and the seating plan.
- Decide the primary seat first: design around the “money seat,” then make sure the rest of the seats stay within reasonable viewing angles.
- Use practical distance guidelines: a common target is a front row around ~1.5× screen width, with a back row no more than ~3× screen width (then fine-tune based on content and preference).
- Plan multi-row sightlines: confirm eye height, screen height, and riser height so heads don’t block the image.
- Don’t overcrowd seating: fewer seats with great sightlines and balanced audio typically beats cramming in an extra row.
This is also where a home theater design service helps you avoid costly “buy twice” decisions by modeling the room layout before anything gets installed.
Mistake #5: Forgetting That Light Is the Enemy
Lighting control is one of the biggest differences between a “TV in a room” and a true theater experience—especially with projection.
Light-colored, glossy surfaces reflect the projector’s output back onto the screen, which:
- raises the room’s ambient light level,
- reduces perceived contrast (black looks gray),
- and makes HDR content look flatter than it should.
Overhead fixtures and poorly placed cans can also create direct glare in your field of view and visible hot spots on the screen.
The Fix: Treat light control as part of the technical design.
- Reduce reflections: choose dark, matte finishes near the screen wall and ceiling (even a darker front third of the room helps).
- Use true blackout window treatments: if the room has windows, light leakage will always show up on screen unless you address it.
- Layer your lighting: use sconces, step lights, or coves on dimmers instead of relying on bright overhead cans.
- Automate scenes: Lutron lighting and shades can create “Movie,” “Intermission,” and “Clean Up” scenes that set the room instantly—no juggling dimmers in the dark.
For homeowners searching smart home installation near me, this is a great example of automation that feels genuinely useful: one button (or one app command) can set lights, shades, audio, and video to the right state without adding complexity.
Mistake #6: Underestimating Heat, Power, and Ventilation
Reliability issues in home theaters are often thermal or electrical—not “the receiver is bad.” If your equipment rack is in a tight closet with minimal airflow, heat builds up, performance drops, and protection circuits can shut the system down mid-movie.
Why it happens:
- Thermal load: AV receivers, amplifiers, and video processors dissipate significant heat. In a closed cabinet, internal temperatures rise quickly.
- Restricted airflow: without a cool-air intake and a hot-air exhaust path, fans just recirculate warm air.
- Power and grounding problems: different circuits and poor grounding practices can create ground loops (audible hum), nuisance tripping, and unstable behavior under load.
The Fix: Design the rack like a small mechanical system.
- Plan ventilation intentionally: allow space around equipment, add active rack fans, and use ventilated doors or an open-backed rack when appropriate.
- Create an airflow path: bring cool air in low and exhaust warm air high (heat rises). Don’t rely on “it’ll be fine” gaps.
- Right-size power: use dedicated circuits when needed, keep sensitive gear on the same circuit where practical, and include surge protection/power conditioning.
- Keep serviceability in mind: label cables, leave slack, and make sure gear can be accessed without dismantling the room.
This is a core part of professional home theater design services. If you’re comparing av companies near me, ask how they handle rack cooling, power planning, and long-term service—those details are what keep the system stable for years.
Mistake #7: Skimping on Wiring and Mismatching Equipment
Wiring is the infrastructure that determines what your theater can become later. If you only run the minimum cables for today’s setup, upgrades often require opening walls—especially for new HDMI standards, additional subwoofers, or added surround channels.
Mismatched speakers can also undermine the experience. When the tonal character of the center doesn’t match the left/right speakers, voices can change timbre as sound pans across the screen—an issue that becomes very noticeable in modern mixes.
The Fix: Build in flexibility and system consistency from day one.
- Run conduit where possible: conduit gives you an upgrade path for future HDMI or control cabling without drywall work.
- Pull extra lines intentionally: additional HDMI runs, Ethernet, and speaker wire to likely locations (including potential subwoofer spots) reduces future labor and limitations.
- Use proper cable types and terminations: in-wall rated cabling, clean terminations, and labeling make troubleshooting and servicing far easier.
- Match the front soundstage: choose speakers designed to work together (especially L/C/R) so panning effects and dialogue remain consistent and natural.
This is one of those areas where a quality home theater design service pays for itself by preventing “tear it out and do it again” moments later.
The Bottom Line: Home Tech Should Be Easy, Not a Headache
A great theater should feel effortless to use and predictable to maintain. You shouldn’t have to learn acoustics, video standards, networking, and electrical best practices just to enjoy movie night.
That’s where Levines Lights comes in. We provide white glove service—from planning and product selection to ordering, storage, careful installation, cleanup, and ongoing remote support—so your system is designed correctly and stays reliable. For Bay Area homeowners in San Mateo and Santa Clara Counties (San Carlos, Belmont, Atherton, Hillsborough, and nearby), we simplify complex tech into a setup that’s straightforward day-to-day.
If you’re currently searching av companies near me, audio video companies near me, or smart home installation near me, look for a team that treats the room, the wiring, the calibration, and the user experience as one complete system—not a pile of parts.
Ready to avoid these mistakes and build a theater that performs the way it should? Let’s talk. We’ll help you get a clean design, a comfortable layout, and a system that just works.